When I became a parent, changing a diaper felt like an overwhelming task. I remember fumbling with supplies, getting sprayed unexpectedly, and questioning if I was doing it right. Over time, with trial, error, and a few funny (and messy) moments, I learned the tricks to making diaper changes smooth and stress-free. Let me share my experience so you can approach diaper duty with confidence and even a little humor.
What You’ll Need
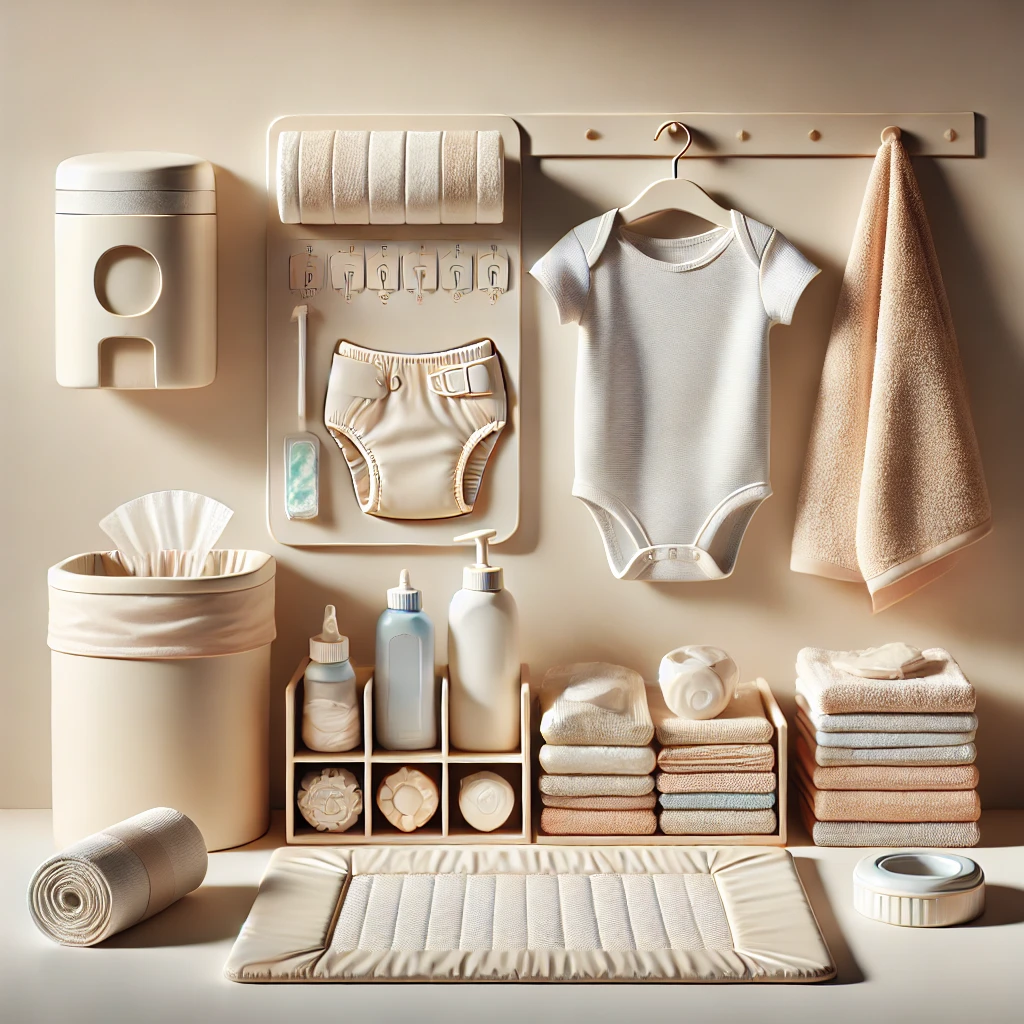
Before you start, having everything ready is key. Trust me, once you’re mid-change, you don’t want to realize you’re missing something! Here’s what you’ll need:
- A clean diaper (disposable or cloth).
- Baby wipes or a soft washcloth with warm water.
- Diaper cream (optional, for preventing or treating diaper rash).
- Changing pad or towel (to keep surfaces clean).
- A clean set of clothes (in case of leaks or blowouts).
- A diaper disposal system or trash can.
Pro Tip: Keep these items within arm’s reach. Early on, I learned the hard way that leaving a wiggly baby unattended, even for a second, is not worth it!
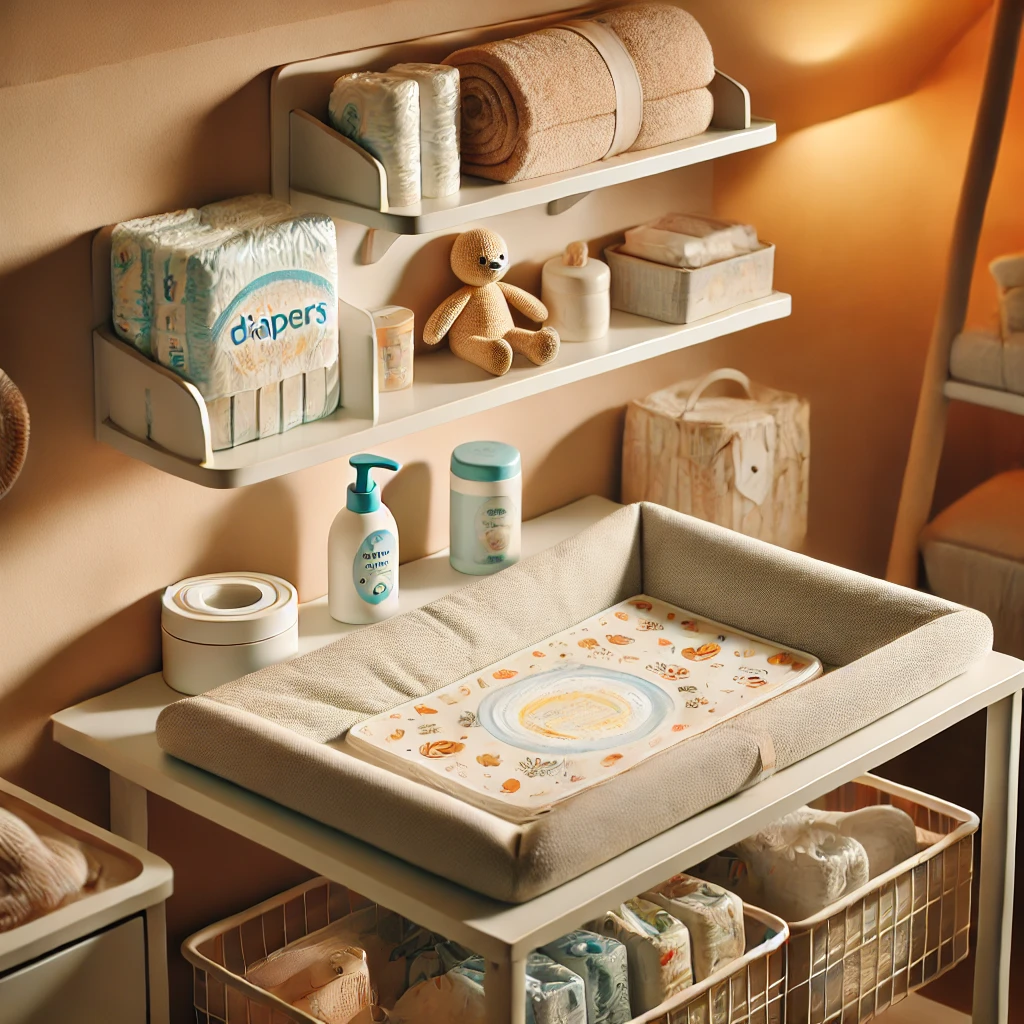
Step 1: Prepare the Changing Area
Find a clean, safe surface. I started with a changing table but soon realized a towel on the bed worked just as well in a pinch. If you’re using a table, always fasten the safety straps.
I also kept a small toy nearby to keep my baby’s hands occupied—and away from the messy zone!
Step 2: Wash Your Hands
I quickly realized how important clean hands are, especially when handling sensitive baby skin. A quick wash or hand sanitizer will do the trick if you’re in a hurry.
Step 3: Remove the Dirty Diaper
This is where it gets real! Here’s how I did it:
- Lay your baby down: I always talked to my baby during this step. A little distraction helped.
- Undo the tabs: Slowly open the diaper, but don’t remove it yet. Use the clean part of the diaper to wipe off solids. This tip saved me so many wipes!
- Fold the diaper: Tuck the dirty diaper under your baby as a temporary barrier.
Step 4: Clean Your Baby’s Bottom
Using baby wipes or warm water, clean the area thoroughly. For girls, always wipe front to back to avoid infections. With boys, I quickly learned to cover them with a cloth—you’ll thank me later!
Pat the area dry to prevent moisture buildup before moving on to the next step.
Step 5: Apply Diaper Cream (If Needed)
In the early days, my baby had sensitive skin, so I always applied a thin layer of diaper cream. Focus on areas prone to redness, like the folds and bottom.
Step 6: Put on the Clean Diaper
Now comes the fun part—the fresh diaper! Here’s how:
- Slide it under your baby: The back tabs should go under their bottom.
- Secure the tabs: Snug but not too tight. I always checked by slipping two fingers under the waistband.
- Check the leg cuffs: Make sure they’re not tucked in to prevent leaks. This tip saved me countless outfit changes!
Step 7: Dispose of the Dirty Diaper
Roll up the dirty diaper and secure it with its tabs. Early on, I invested in a diaper pail, which kept the smell contained. If you’re using cloth diapers, toss them in a wet bag for washing.
Step 8: Dress Your Baby
Once the diaper is secure, I’d dress my baby in a clean outfit. Loose, comfortable clothes worked best to avoid pressing on the diaper area.
Step 9: Wash Your Hands Again
To finish, wash your hands thoroughly. It’s a small step, but it’s essential for hygiene.
Extra Tips for a Smooth Diaper Change
- Expect the unexpected: My baby loved to surprise me during changes. Keep a burp cloth handy for emergencies!
- Stay positive: Babies pick up on your mood. A cheerful attitude (even when it’s messy) makes a big difference.
- Use distractions: A favorite toy or gentle song worked wonders for keeping my baby calm.

Final Thoughts
I’ll admit, diaper changes weren’t my favorite task at first. But over time, I realized they were more than just a chore—they were moments to bond with my baby, share smiles, and create memories. With practice and these tips, you’ll master diaper duty like a pro.
CTA: Have you noticed dryness on your baby’s bottom during diaper changes? Explore our guide on managing dry skin to keep your baby comfortable and rash-free!


